Stock-removal knife
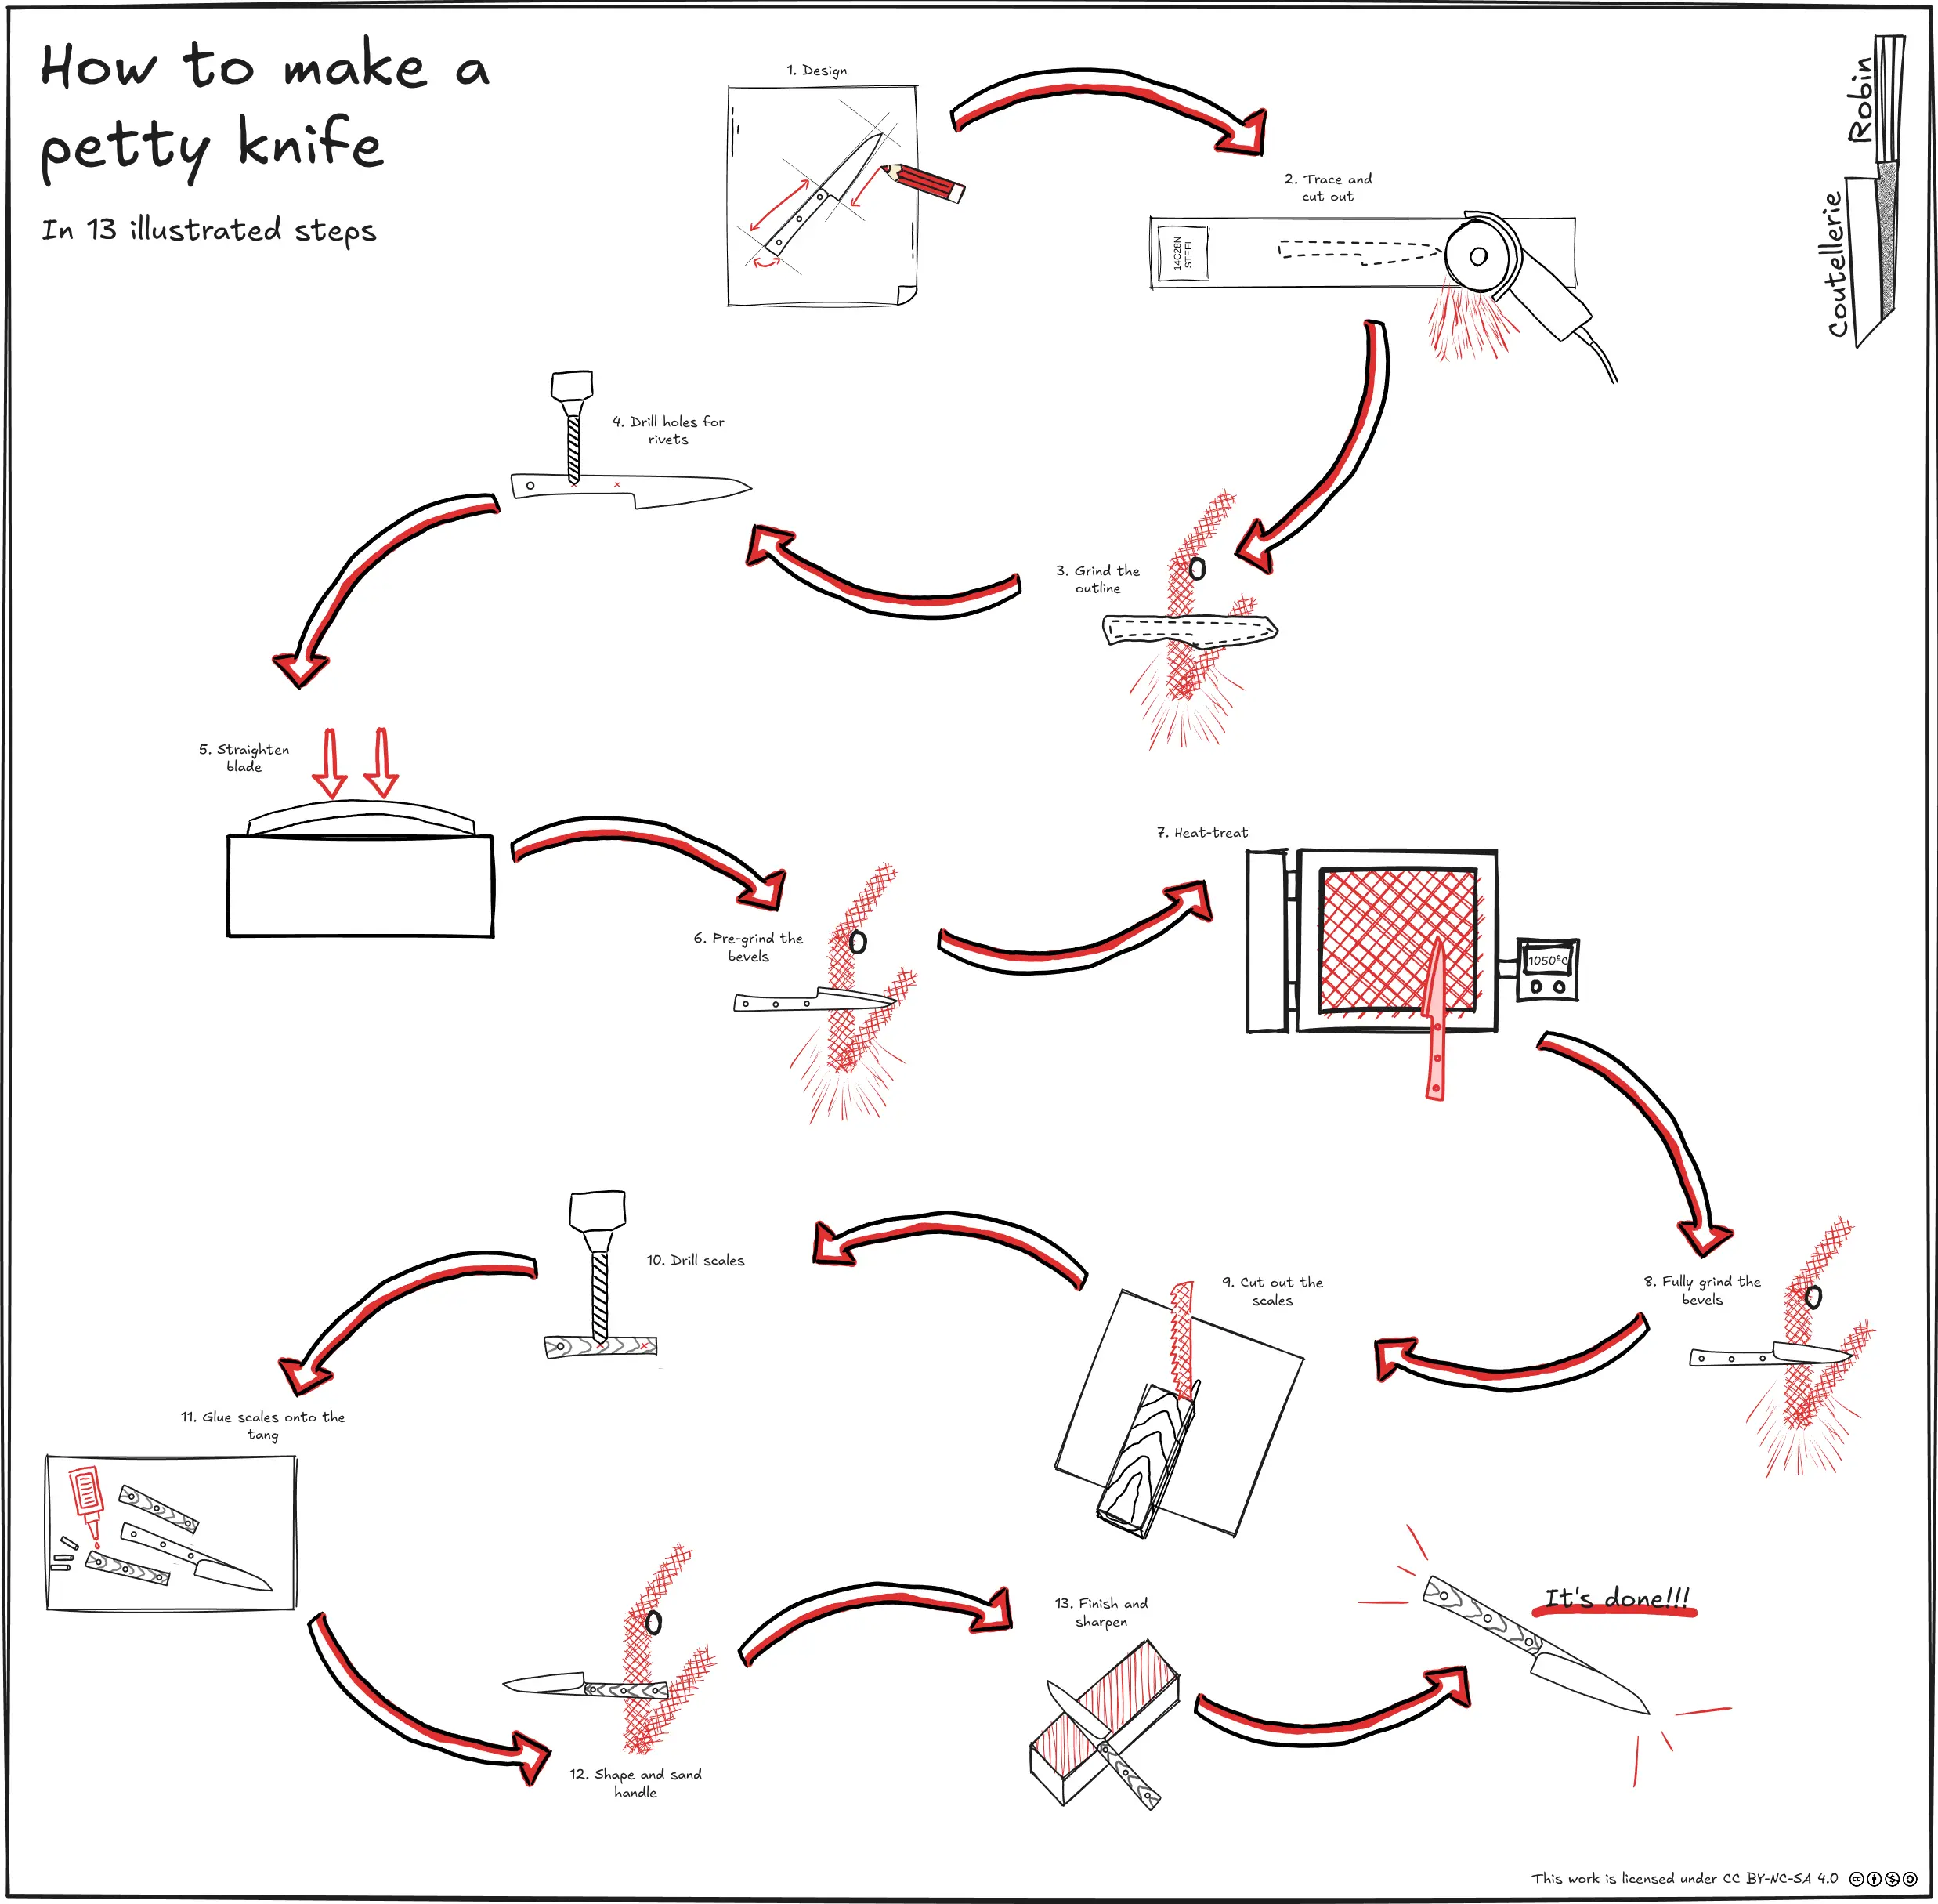
1. Design
Every knife starts with a blank page. Purposeful design is likely to be the most important aspect of a quality knife.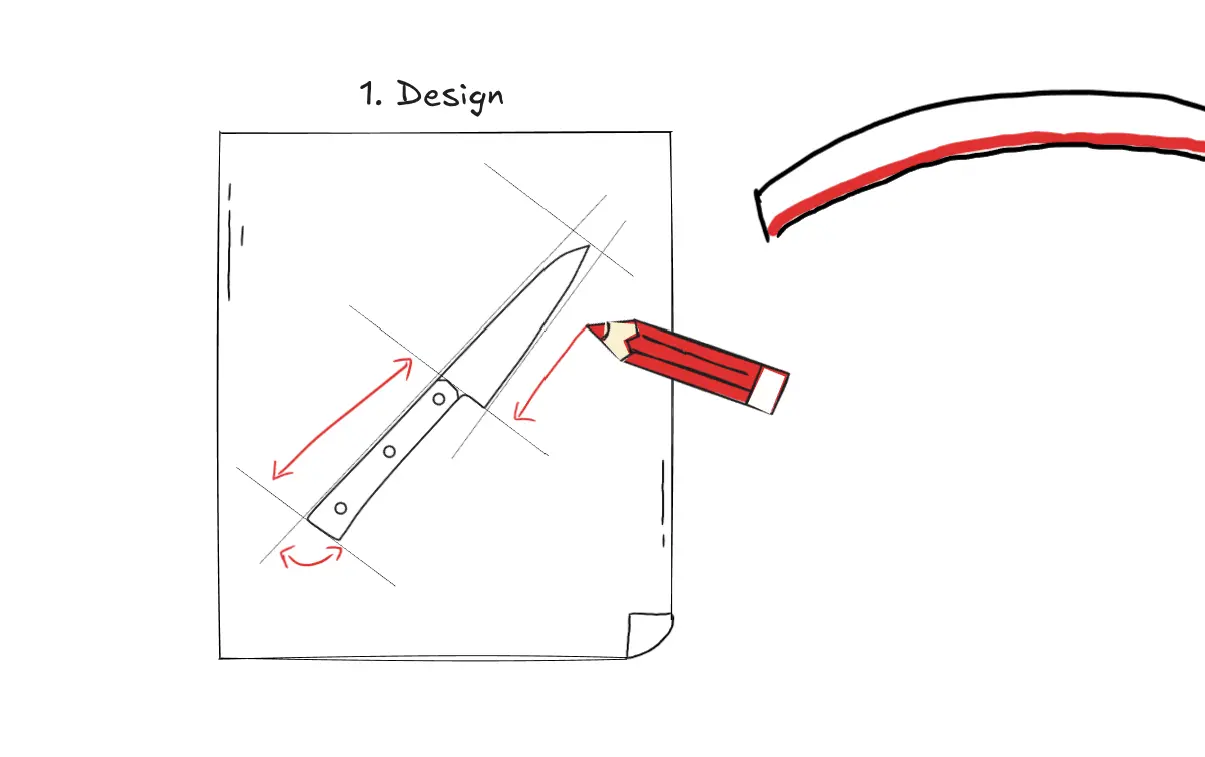
2. Tracing and cutting out
Transferring the outline of the knife onto a bar of cutlery steel and cutting out the shape with an angle grinder or metal cutting shears (for thinner stock).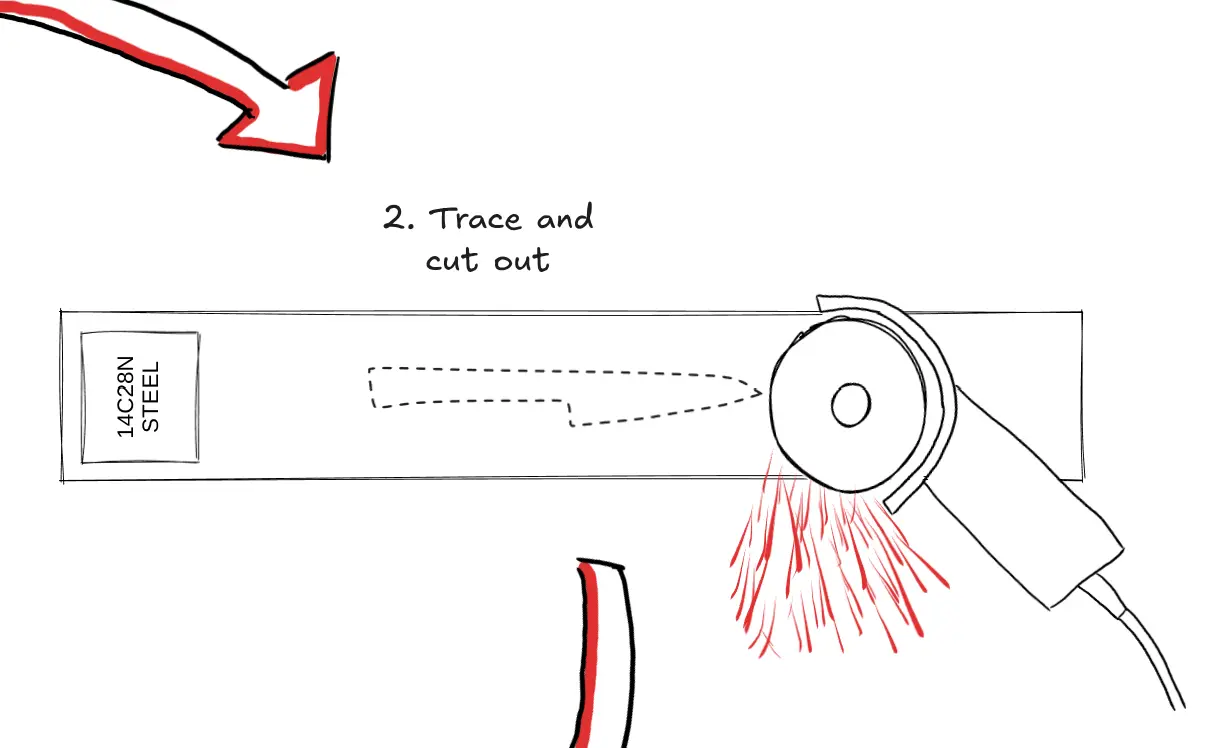
3. Grinding outline
Using a belt grinder to grind off the excess material around the outline and get the exact shape we want.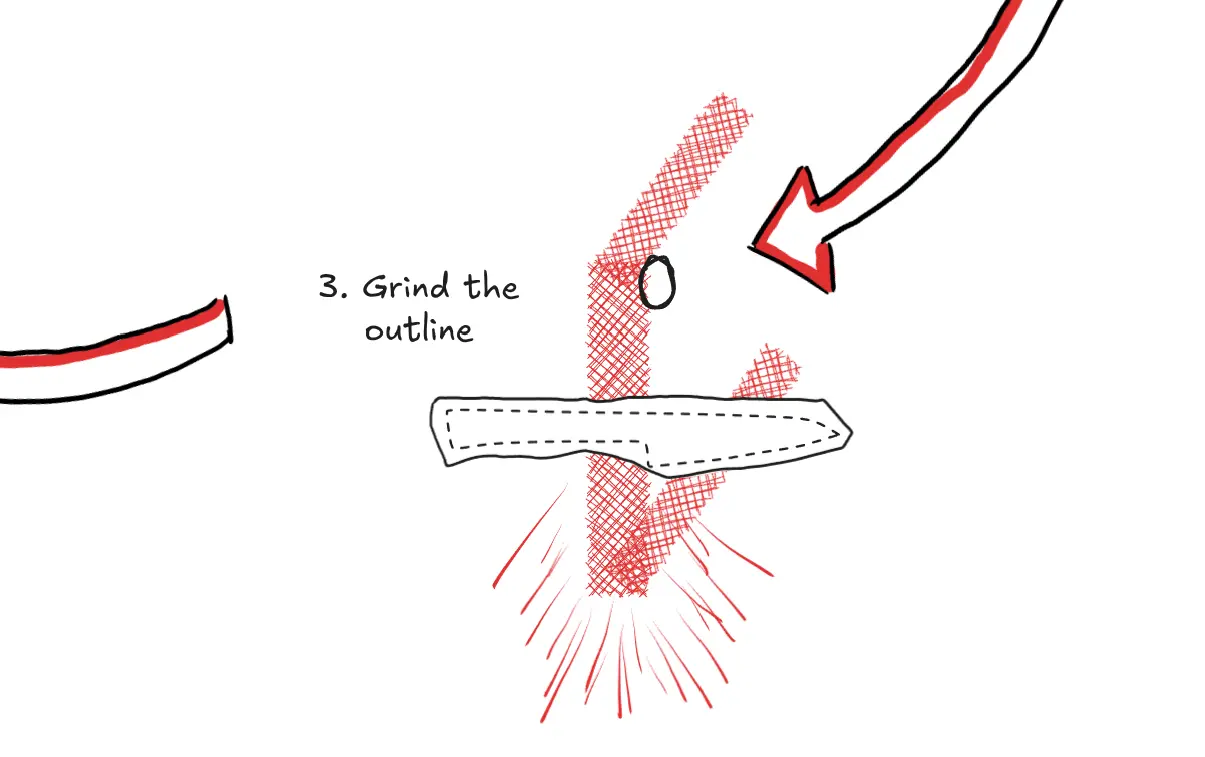
4. Drilling tang
Drilling two or three holes in the tang with a drill press. This is for attaching handle scales to the knife with rivets or corby bolts.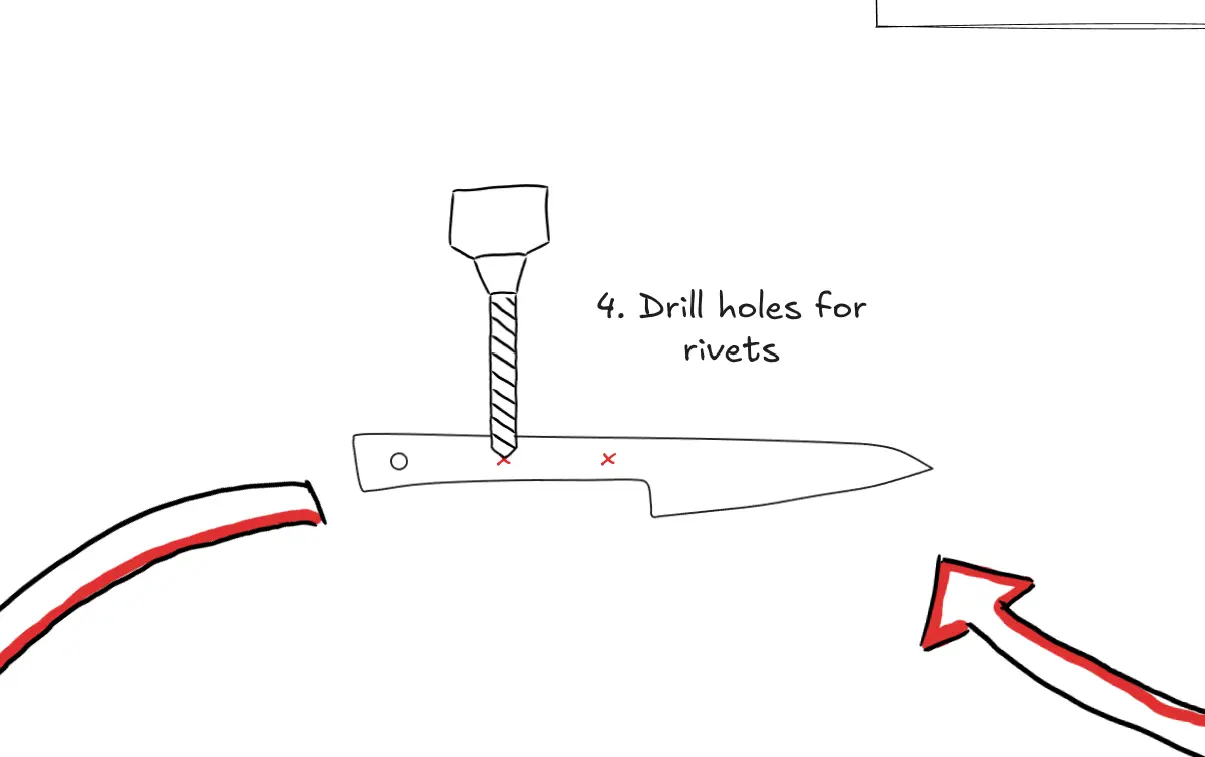
5. Straightening the blade
Making sure the blade is perfectly straight before grinding and hardening by hitting it with a hammer on a flat surface.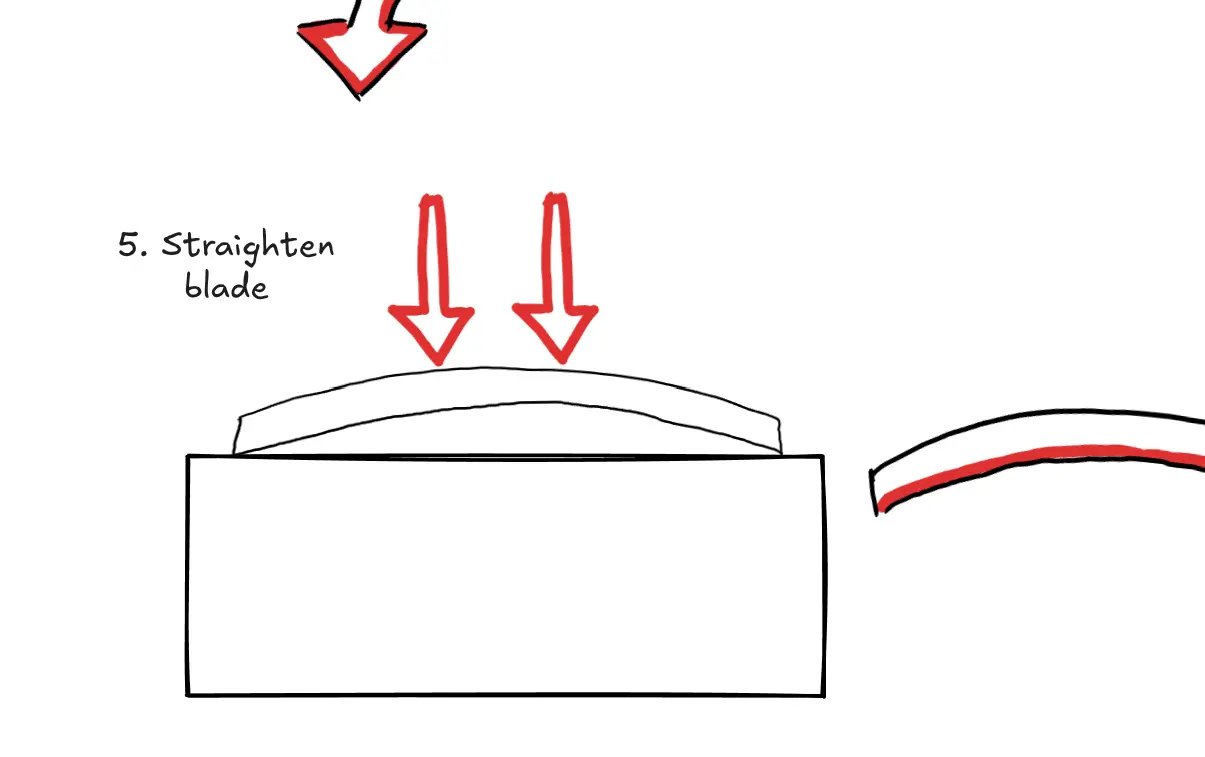
6. Pre-grinding the bevels
Grinding a third of the bevels with a belt grinder while the steel is still soft. This means there will be less to grind after heat-treatment.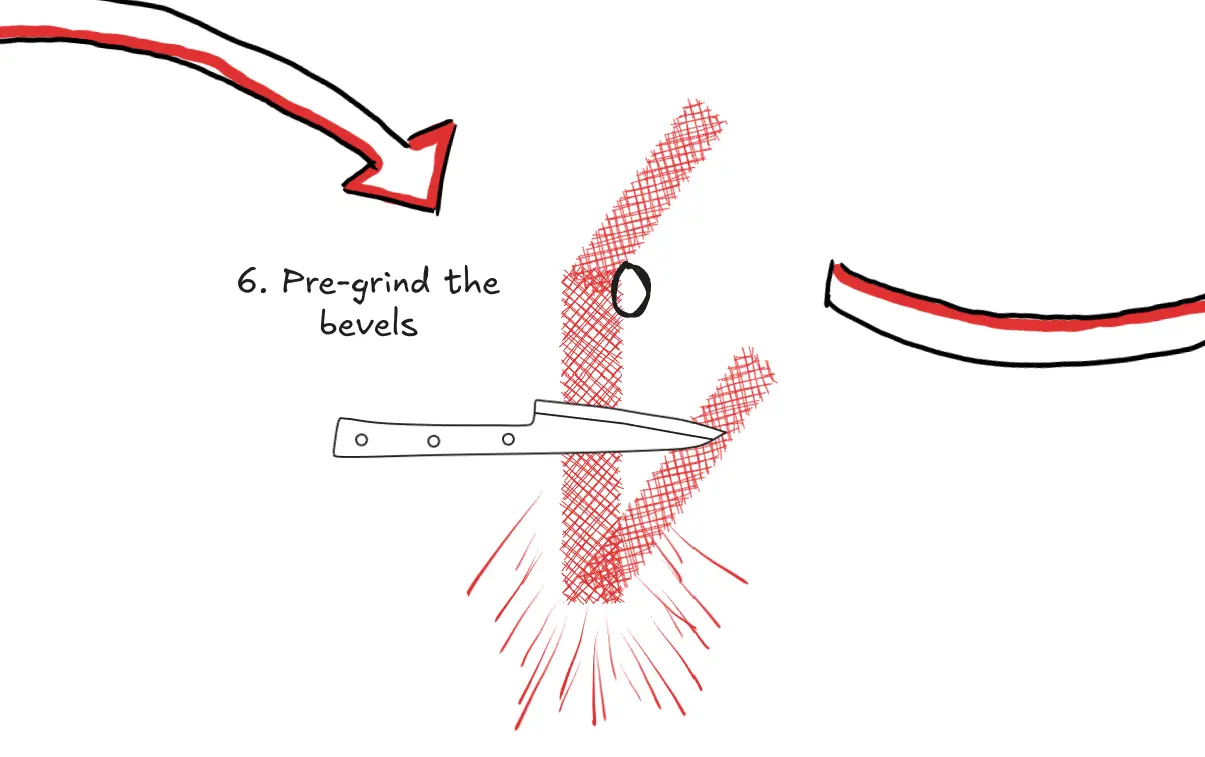
7. Heat-treating the blade
Hardening the blade by heating it above austenitisation temperature and quenching it in oil — for carbon steel — or between aluminium plates — for stainless steel.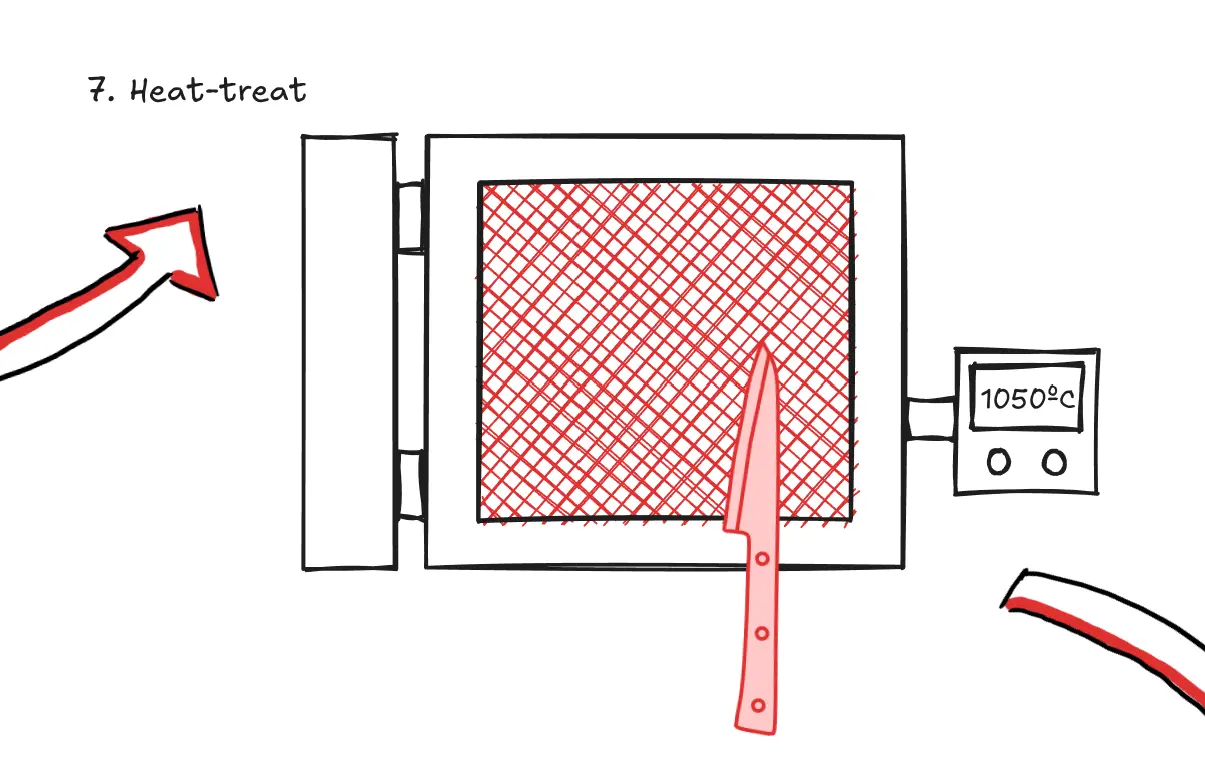
8. Fully grinding the bevels
Grinding the rest of the bevels with a belt grinder, making sure they are even, symmetrical and thin behind the edge.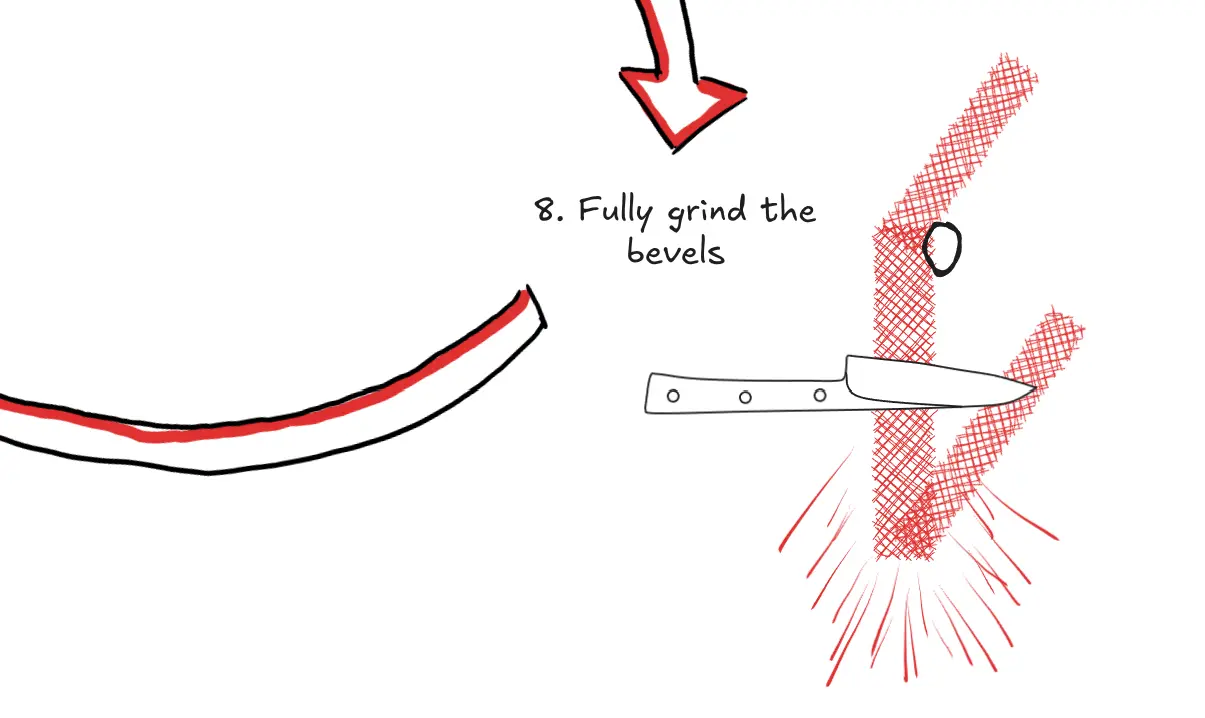
9. Cutting the scales
Tracing the shape of the tang on a piece of wood or composite material and then cutting it out with a bandsaw.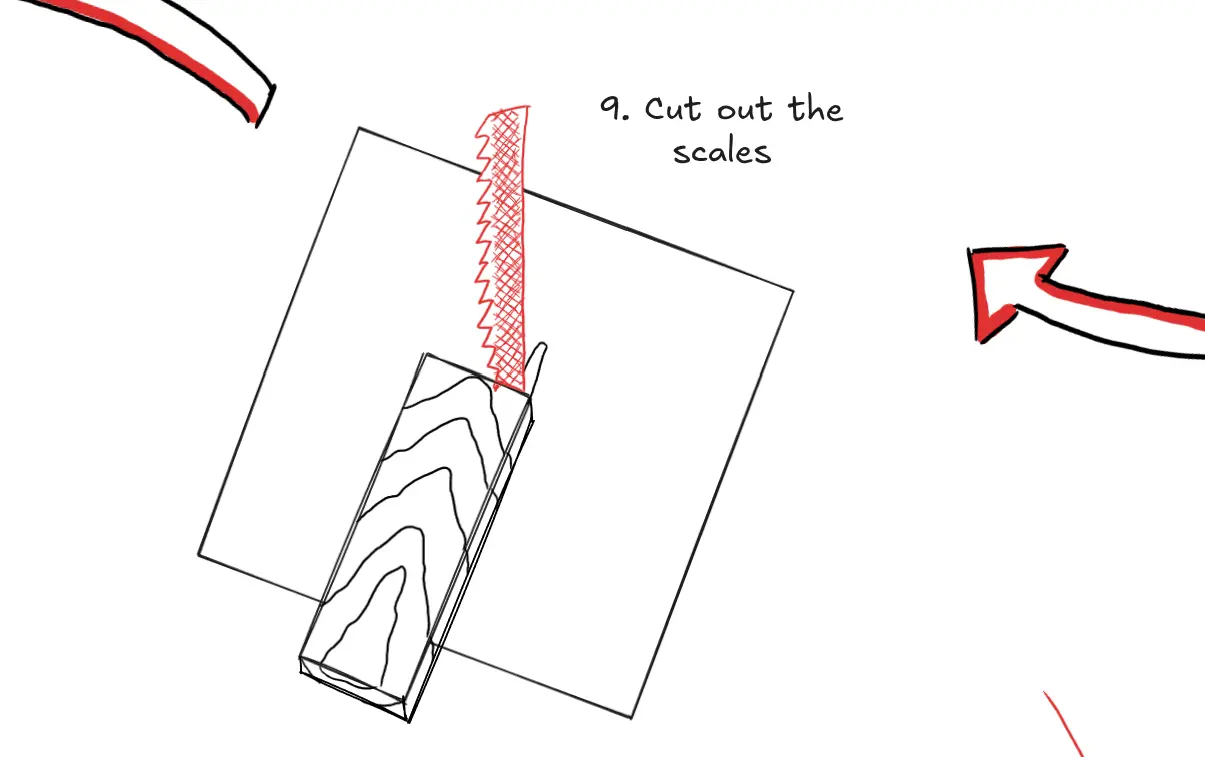
10. Drilling the scales
Drilling holes in the scales that match those in the tang. Once again with a drill press.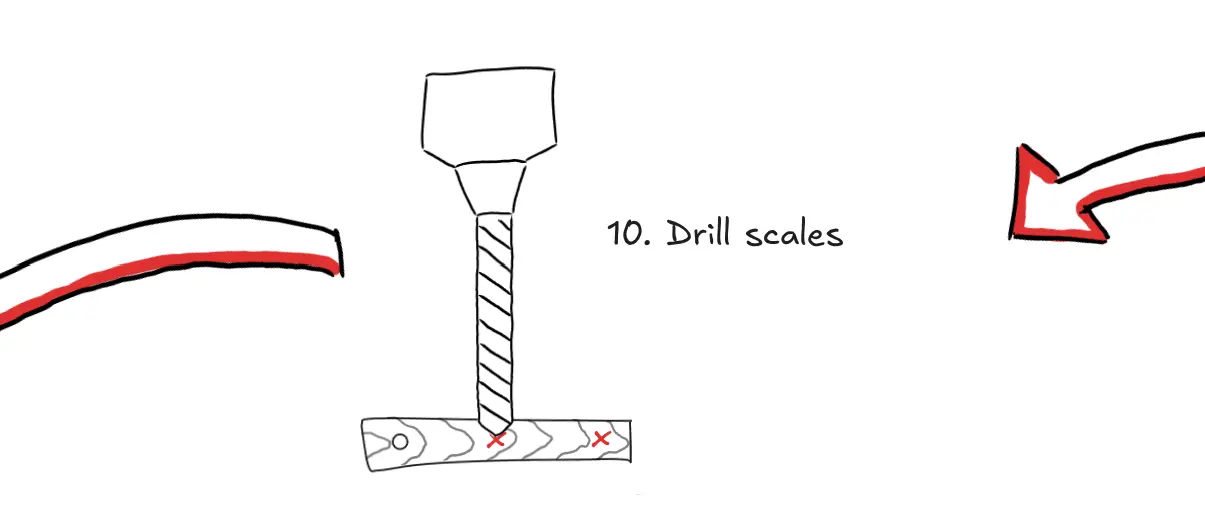
11. Glueing the scales
Glueing the scales on the tang using two-part epoxy and rivets. This method provides a very secure bond that will resist the passage of time.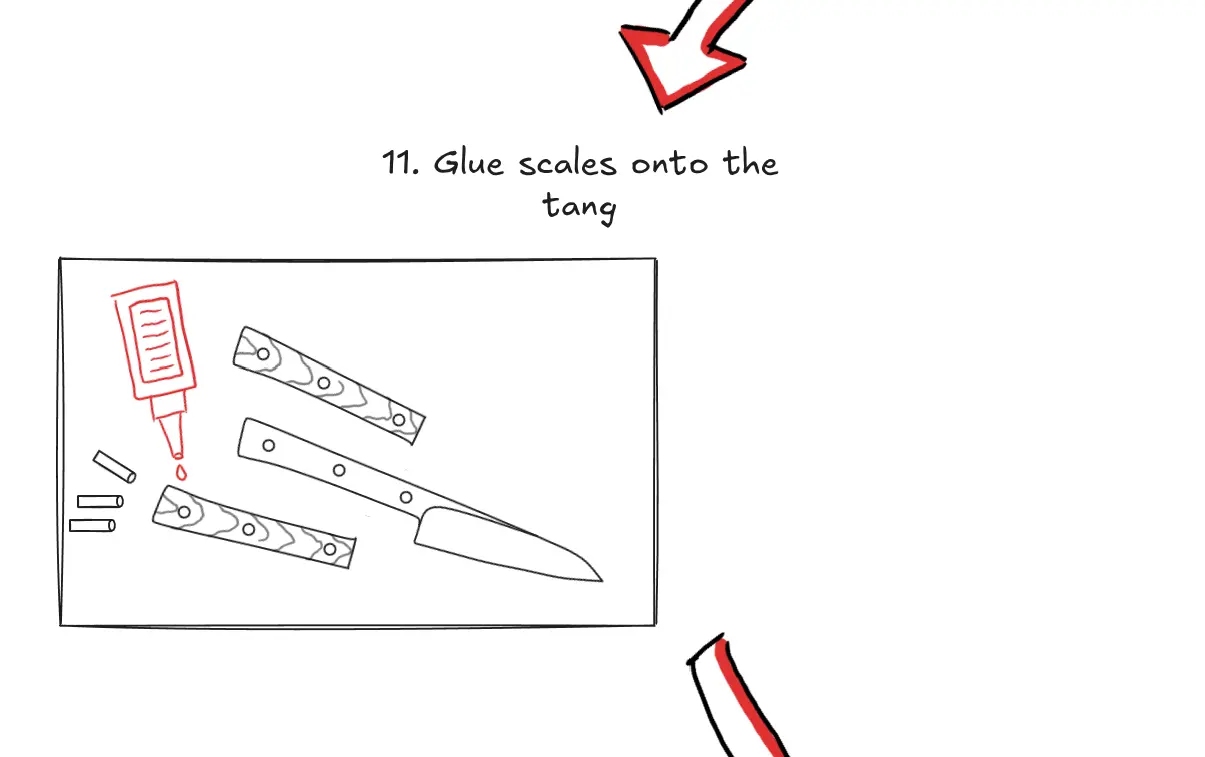
12. Shaping and sanding the handle
Once the epoxy has fully cured, grinding the scales to get a comfortable and good-looking handle. Then, hand sanding the scales for a soft and even finish, ready to be oiled.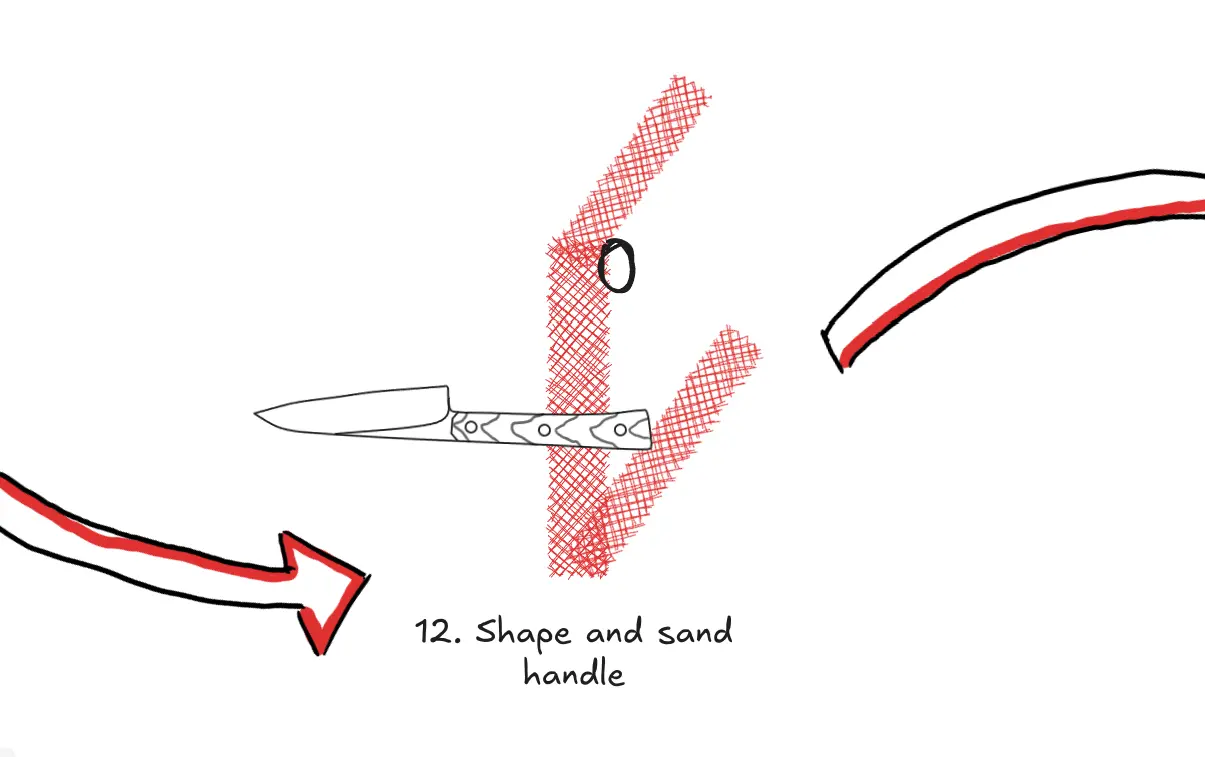
13. Finishing and sharpening the knife
Oiling the scales, making sure there are no sharp corners left anywhere on the knife, and sharpening the blade on diamond stones or whetstones before stroping on leather loaded with polishing paste for a very crisp and extremely sharp edge. Finally, laser engraving my logo on the blade.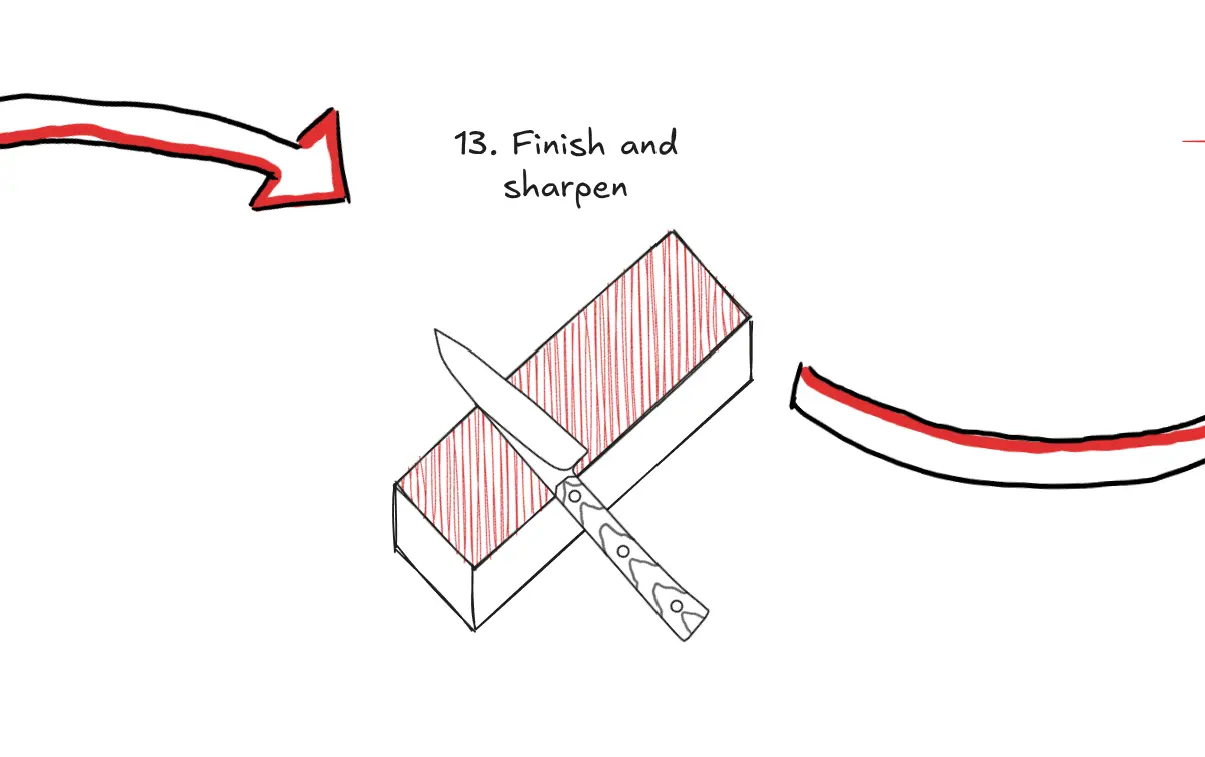
The End
The knife is done. It will be photographed, packaged and shipped to its new owner along with a laser-engraved certificate of authenticity and lifetime warranty.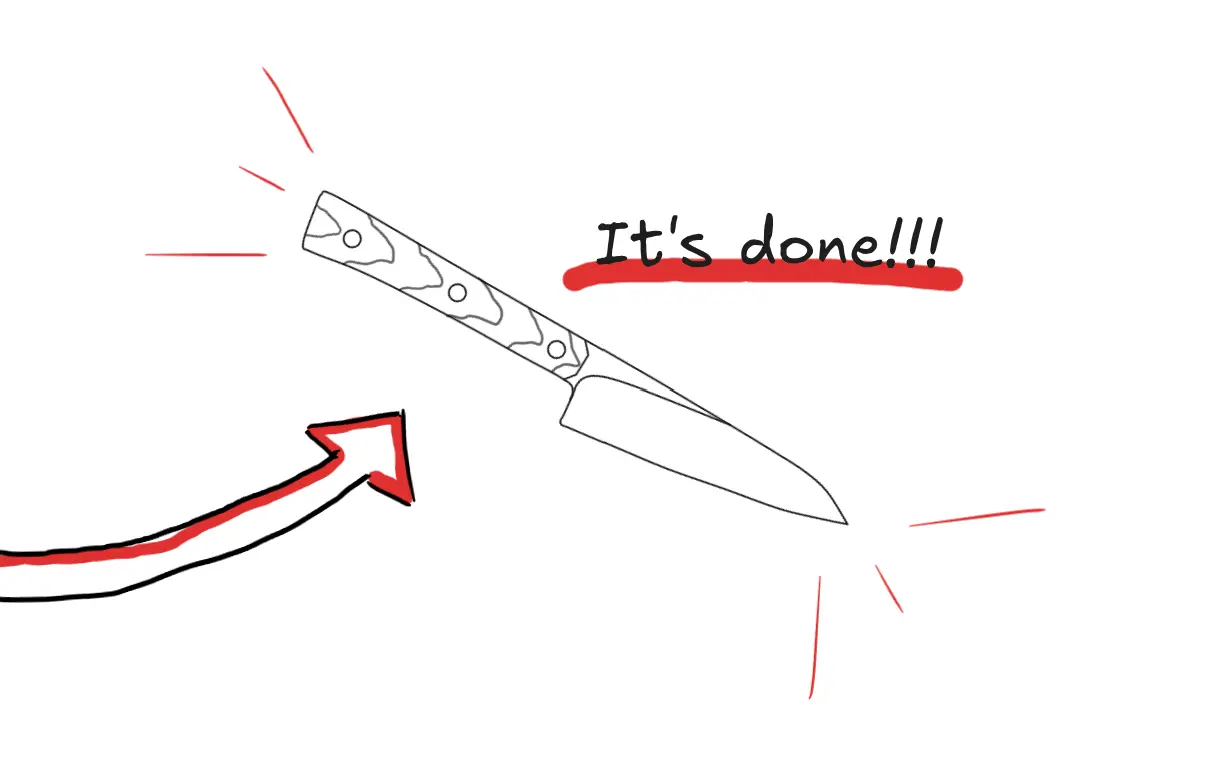
Forged knife
[coming soon]